
Packing for a trip can be fun. When you add camera gear, there is a new thing to think about. You want to keep your gear safe. You also need to reach it fast and be sure that it is not too heavy. Some people use a camera backpack. Some use a simple shoulder bag. It is important to plan your setup before you go. This guide will help you pack your gear for short trips with no trouble. That way, you can spend your time taking good photos instead of worrying about your bag.
What You Need Before You Start Packing
Before you pack your camera gear in your bag, stop and plan for a few minutes. Start by thinking about where you are going. Also, think about what kind of photos you want to get. After that, you can make a packing list. Decide the amount of gear to take for short trips. This way, you will be ready, and you will not have too much stuff.
Choosing the Right Camera Bag or Backpack for Short Trips
The right camera bag makes all the difference. For short trips, you have several great options depending on your needs. A dedicated camera backpack is perfect if you're carrying multiple lenses and accessories, as it offers great protection and keeps the main compartment organized.
Here’s a quick comparison to help you choose:
|
Bag Type |
Best For |
|---|---|
|
Adventure travel with multiple lenses and a laptop. |
|
|
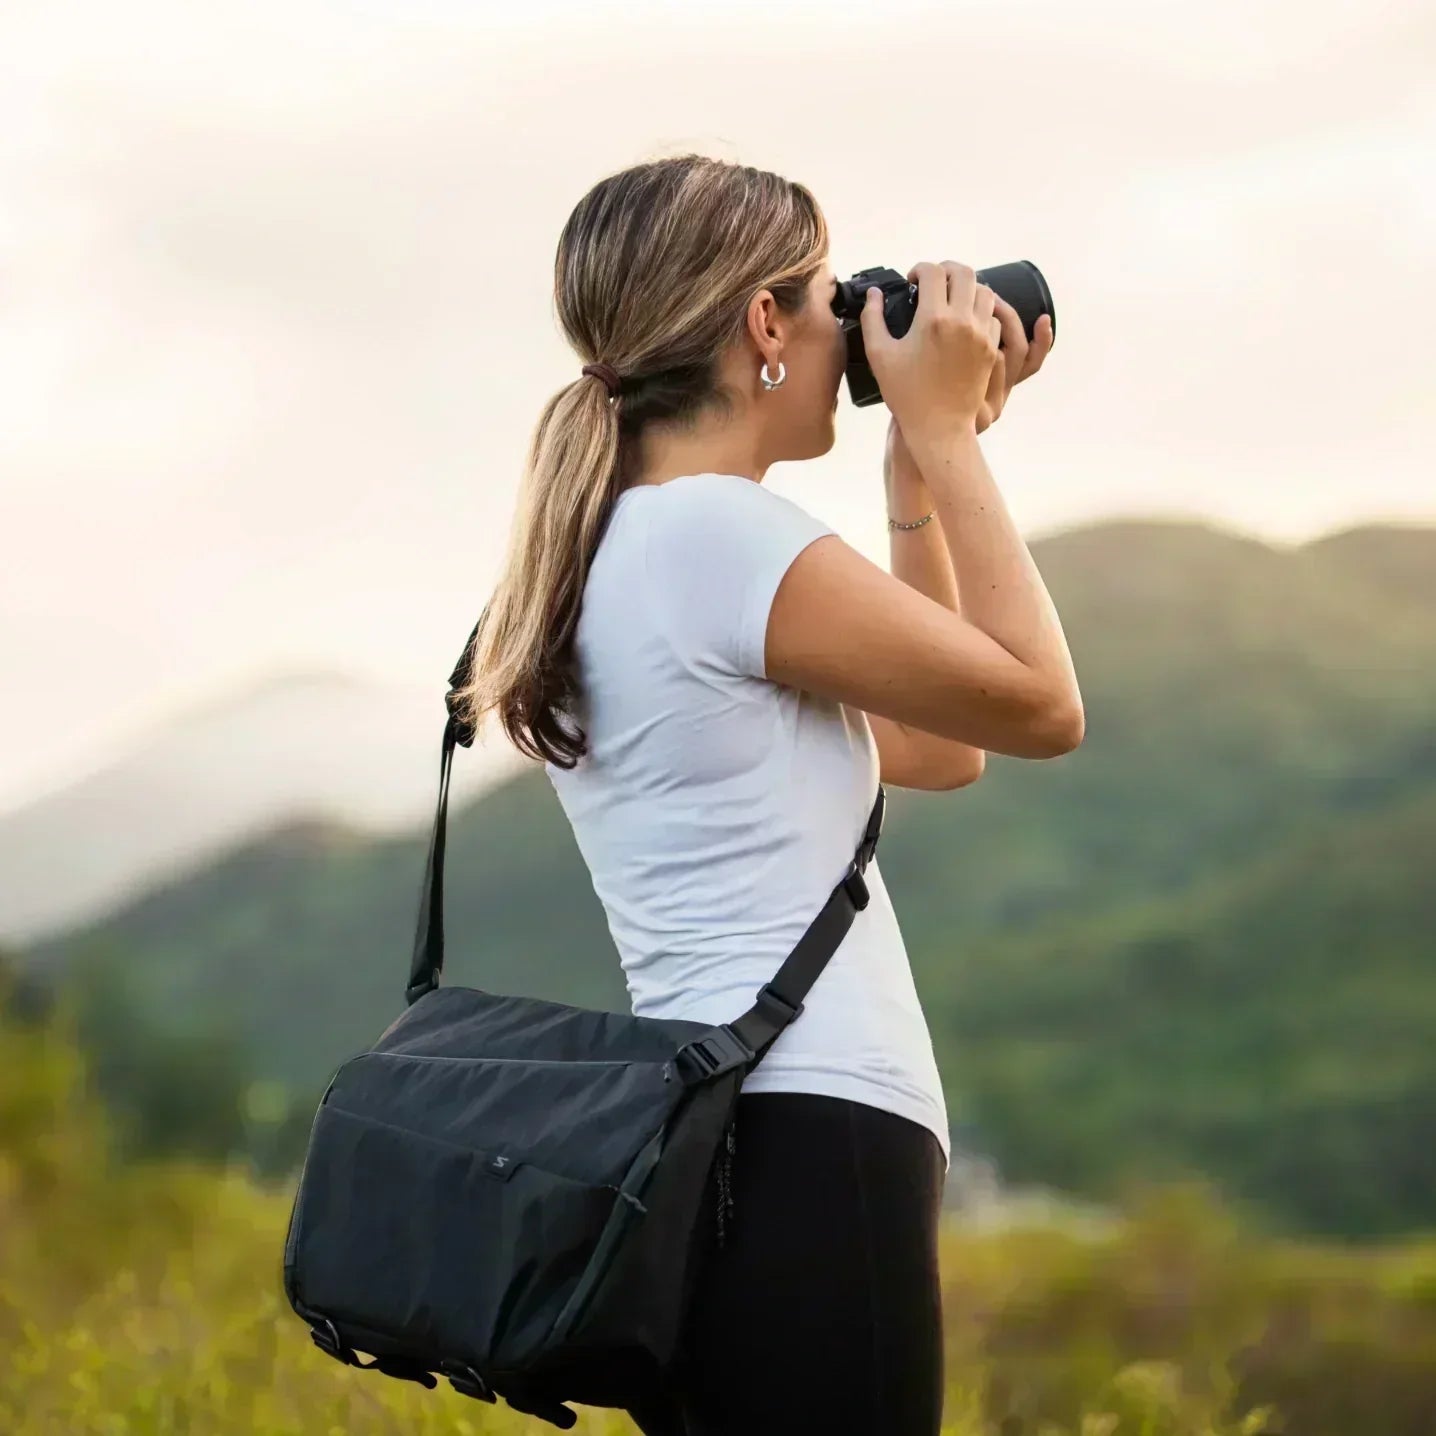
City exploration with one camera and lens; offers easy access. |
|
|
Rolling Case (Pelican) |
Road trips or when carrying a large amount of heavy gear. |
Essential Camera Gear to Bring for Travel Photography
When you pack for travel photography, you should bring only what you need. Think about the types of photos you want to take. For most trips, a zoom lens can be better than lots of small lenses. It helps you be ready for different situations and doesn’t make your bag too heavy. Here is the camera gear that you should always bring:
-
One camera body (mirrorless can be good and is not heavy)
-
A zoom lens you can use in many ways, like a 24-70mm
-
Extra batteries and your battery charger
-
Multiple memory cards
-
Lens wipes or a cloth for cleaning
Must-Have Accessories for Convenience and Safety
The right accessories can make traveling with camera gear much easier and more secure. These items help protect your equipment, improve comfort, and prepare you for unexpected situations on the road. Here are some helpful things to pack:
-
A camera strap that uses adjustable shoulder straps
-
A lens cleaning kit with wipes and a dust blower
-
Portable hard drive to keep extra photo backups
-
Small travel tripod for taking night pictures and self-portraits
-
Rain cover to keep your bag and camera dry in bad weather
Step-by-Step Process: Packing Your Camera Gear
Now that you know what to bring, let’s go over how to pack. The best way is to follow a plan. This keeps your camera gear safe and easy to get to. It also helps keep things neat. With these steps, you will see that packing does not have to be hard. It can even feel like a fun part of getting ready for your trip.
Step 1: Make a Packing List of Essential Camera Items
The first thing you need to do is make a packing list. This easy step helps you stay organized and enjoy stress-free travel photography. Always base your packing list on where you are going and what kind of photos you want to get on your short trips. Your packing list for travel photography should have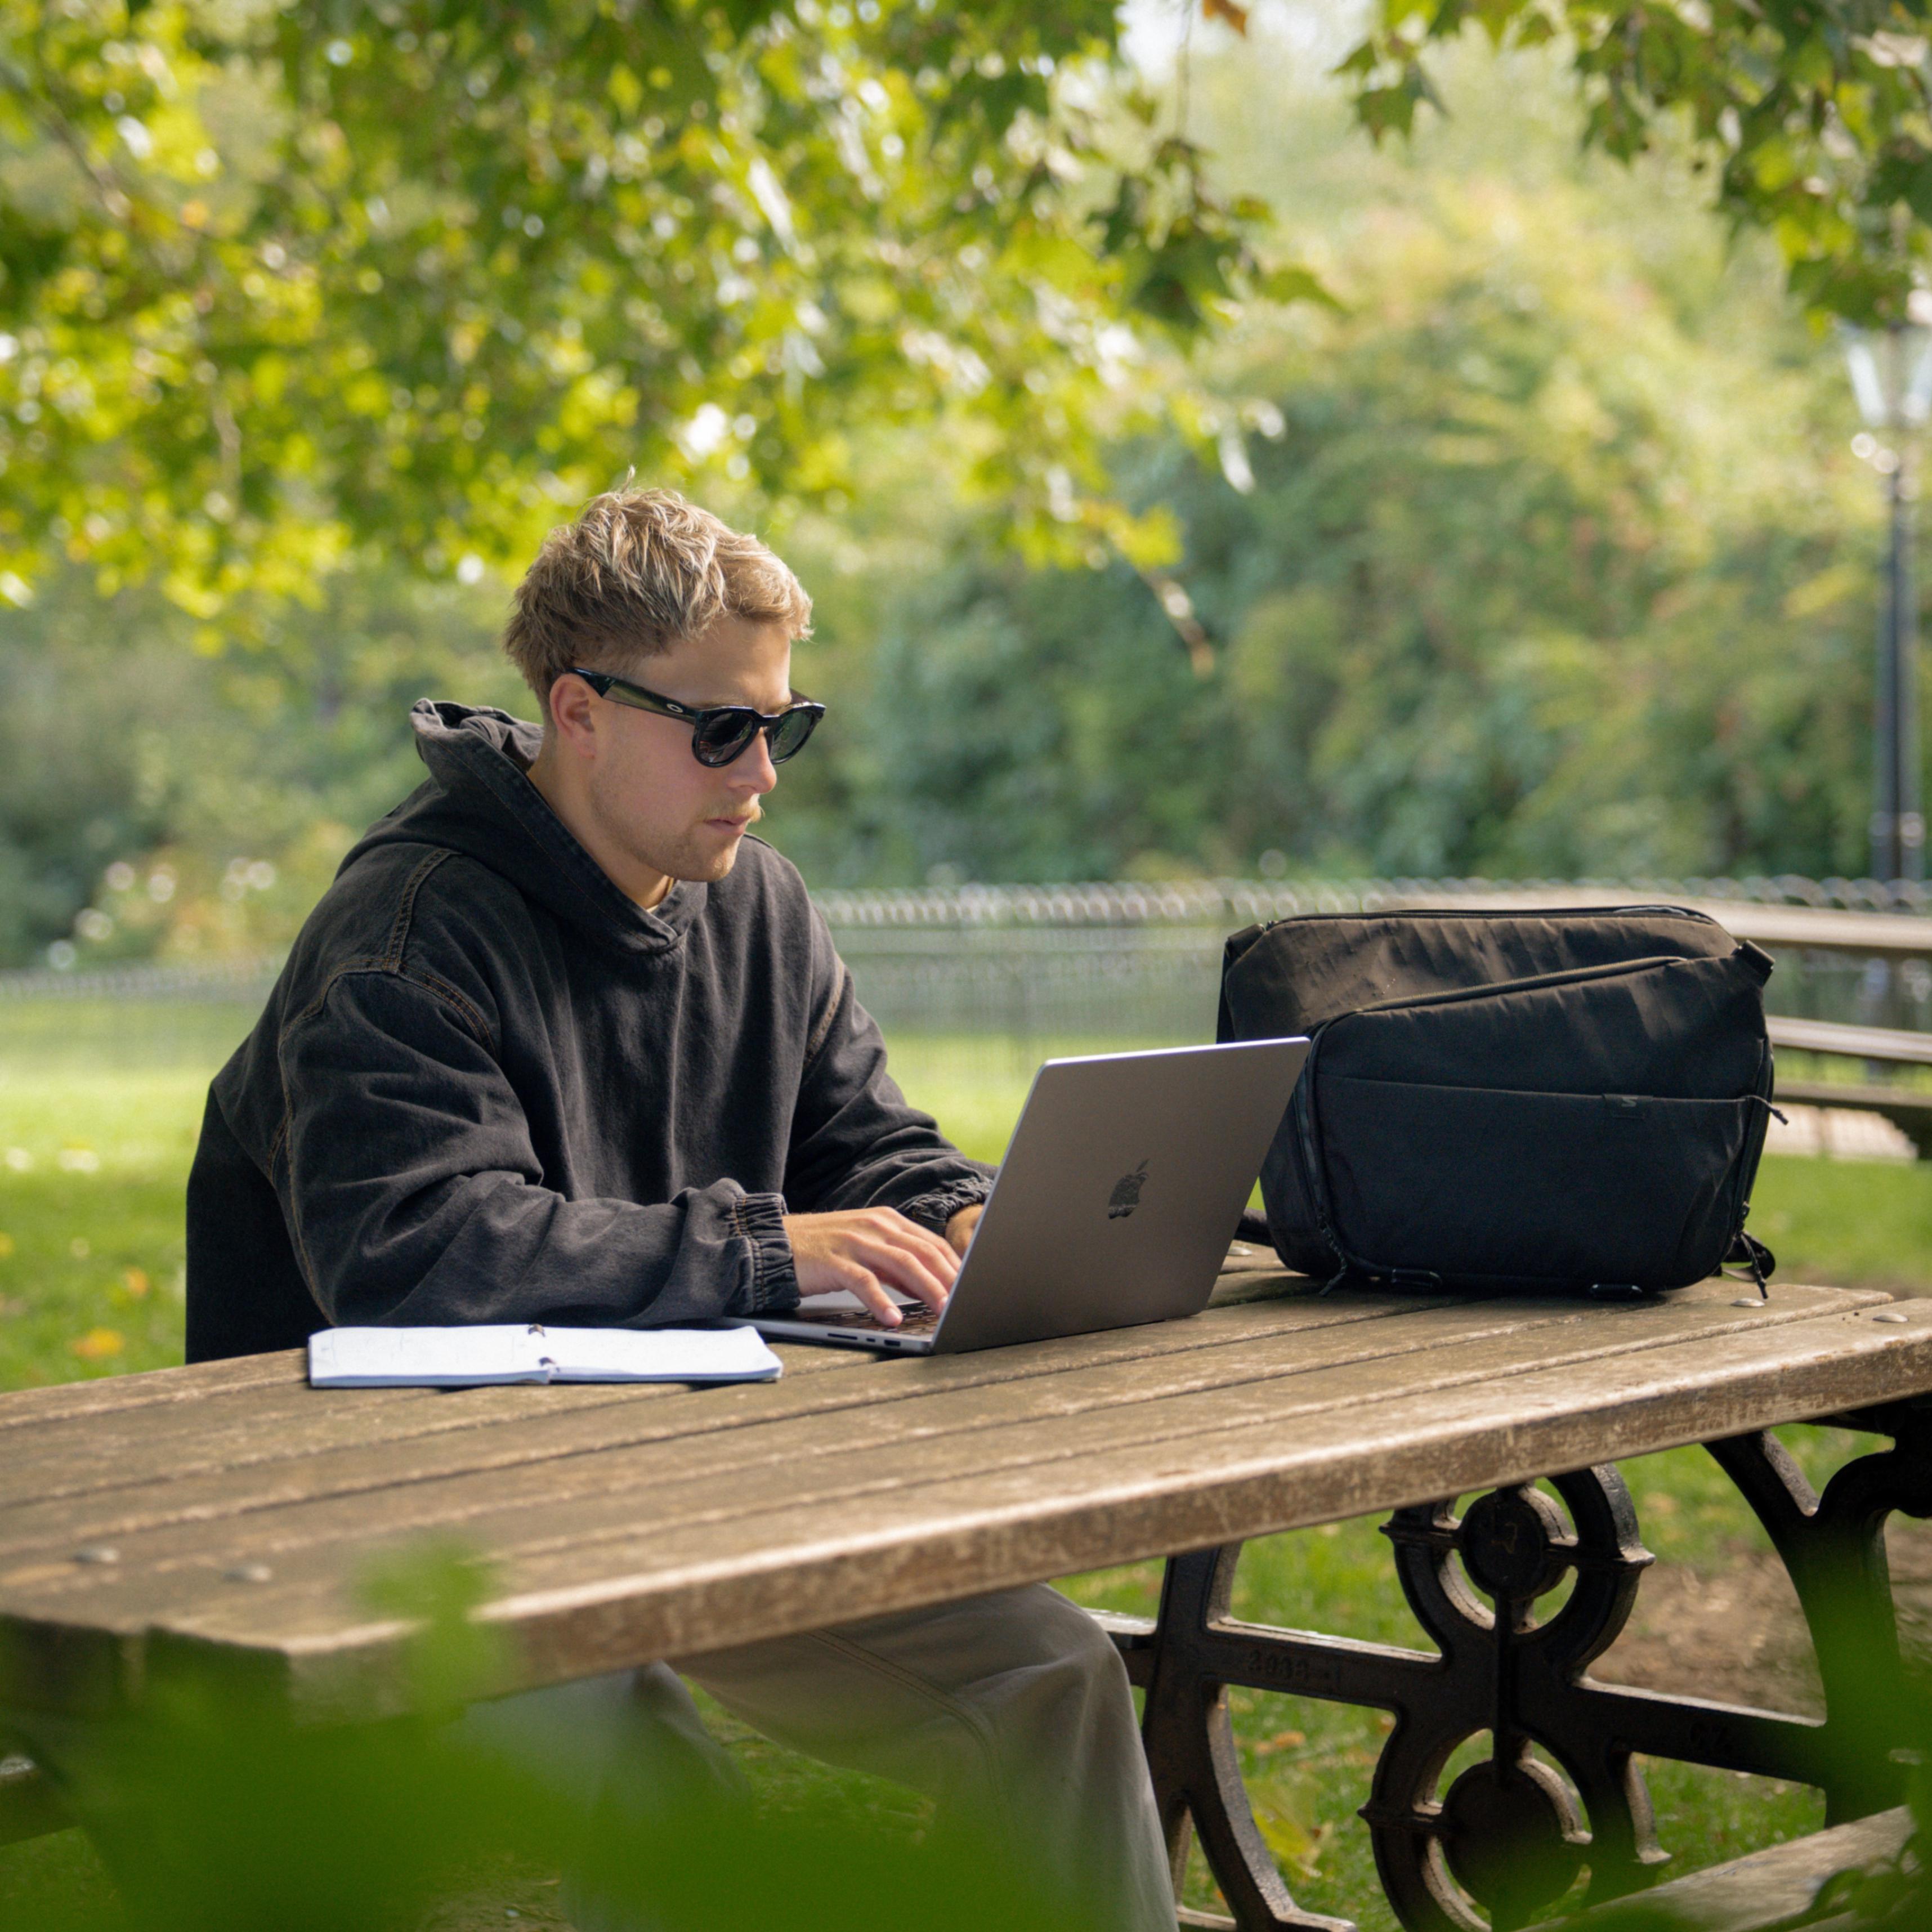
-
-
Camera body and a good lens that can do many things
-
Extra batteries and the charger
-
Lots of memory cards
-
A portable hard drive to back up your work
-
Step 2: Organize Small Accessories and Memory Cards Efficiently
Small things like memory cards, batteries, and cables can be lost in a camera bag that is big. The way to keep your gear neat is to use small pouches or pockets inside your camera bag for storing these items. This helps cut down clutter, and you find what you want faster when you need it.
You might want to have a wallet just for memory cards to hold them all together. This keeps the cards safe and helps you organize them. Putting labels on your pouches can also help you be quick when you look for something in a rush.
Step 3: Protect Cameras and Lenses with Padding or Cases
Keeping your expensive equipment safe is very important. The best thing to do is use a camera bag with adjustable padding. Move the dividers to make small spaces for your camera body and every lens. This stops them from moving around and hitting each other while you travel.
If you do not have a camera bag made for camera gear, you can use an internal camera unit (ICU) or a padded camera cube. Put this cube inside any normal backpack. This gives your camera gear the safety it needs.
Step 4: Pack Your Gear in Layers for Easy Access
Organizing your camera backpack in layers makes travel easier. Put the things you use least, like a telephoto lens, extra chargers, or a hard drive, at the bottom of the main compartment. This way, you can reach your main camera and lens fast because they sit at the top. To carry your stuff the easy way, try these ideas:
-
-
Place your main camera and top lens at the top of your bag.
-
Use the side-access zippers on your camera backpack for faster use.
-
Keep extra or less-used lenses and items at the bottom.
-
Step 5: Secure Your Camera Bag for Transit and On-the-Go Use
When your camera bag is packed, you need to make sure it is safe before you start your journey. If you are flying, keep your camera bag with you as a carry-on. Do not put your camera gear in checked baggage if you can help it. Checked bags can go missing, and your camera could get damaged.
On a road trip or when you walk in a busy city, always zip up your camera bag and keep it close. Some camera bags have locks or special anti-theft security. These can give you more peace of mind that your things will be safe.
Mistakes Beginners Should Avoid When Packing Camera Gear
Many people who are new to this often pack too much camera gear. It looks easy to take everything, but carrying a heavy camera bag can make you tired fast. Think about your last trip. Did you really use each thing you brought? Packing less can help you enjoy your time more. Sometimes, people forget important smaller items. Making and using a checklist before you go can help with this.
Avoid these packing mistakes:
-
Bringing too many lenses.
-
Forgetting to pack a lens cleaning cloth.
-
Packing your camera bag at the last minute.
-
Not backing up your photos during the trip.
-
Checking your main camera gear in your hold luggage.
Conclusion
Packing camera gear for short trips does not need to be hard. If you use the tips in this guide, you will keep your gear safe, in order, and easy to find. Pick the right bag. Make sure you take the most important things first. These simple steps help you go light and still get all the shots you want. Every trip is a great chance to get better at taking photos and to make good memories. So, get your gear, be ready, and go with confidence. If you want advice that fits the way you travel, you can ask for a free consultation. Enjoy your trip and enjoy taking photos!
Frequently Asked Questions
What is the safest way to carry camera gear on a plane?
The best way to carry camera gear is to put it in your carry-on bag. Choose a camera bag or camera backpack that has good padding and fits inside the overhead bin. Do not pack your camera or lenses in checked luggage. They can get lost or broken.
How do I protect my camera gear from damage while traveling?
Use a camera bag that has thick padding, so it can take in shocks. If you use a plain backpack, put in a padded camera cube to keep your expensive equipment safe. Always check that your gear fits tight, so it does not shift or move when you travel.
Share:
Essential Tips on How to Store Camera Lenses Safely
Best Travel-Friendly Camera Saddle for Outdoor Adventures